Introduction
| Top |
|
Schedule Plans and Schedule Groups |
Content |
||||||||||||||
|
Introduction |
|
|
Add Schedule Plan Items to a Location or Sample point in order to generate Monitor Samples. Define Schedule Plans at either of the following:
| • | Scheduler
Schedule Plan Items are added to Schedule Plans using the Scheduler Interface. Each Schedule Plan Item has the concept of a Source. The Source (as it applies to Sample Monitoring) is typically the Sample Point, or possibly the parent Location. |
| • | Within the Location Hierarchy
Once you have defined all the levels of the Location Hierarchy Schedule Plan Items can be defined directly in the Scheduling tab of the source entity (Sample Point or Location). |
Define Schedule Groups to create arbitrary groups of Schedule Plan Items to be executed on an adhoc basis (such as to sample all items throughout the facility as a result of a manufacturer recall).
Schedule Plans |
|
|
Whether you define a Schedule Plan using the Scheduler Interface or within the Location Hierarchy in the Scheduling tab, the options are generally the same.
In this example we will describe adding Schedule Plan Items for each Sample Point within the Location Hierarchy. For more detailed information about the Scheduler and Schedule Plans start with Scheduler Principles.
Navigate to the Location List page (Lab Admin → Process → Locations). Select the highest level (Building 1A) and click "Manage Hierarchy".
All levels defined under Building 1A are now available in the Navigator. Start by defining Plan Items for the Desk on Floor 1 in Room 1.
Here you have the option to either "Add" an existing Schedule Plan then manage the details for this Sample Point, or create a new Schedule Plan. Click "Add Plan" to create a new Schedule Plan.
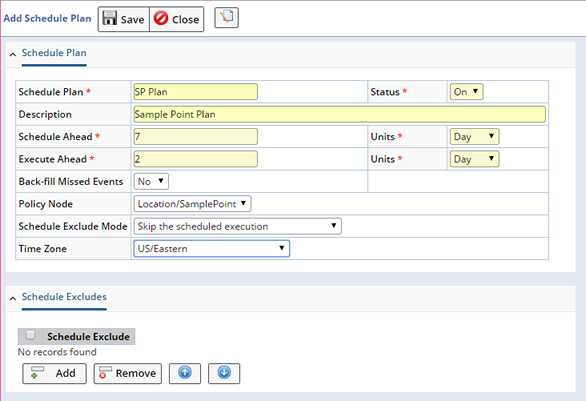
This allows you to define general information about the Schedule Plan, then define the Schedule Plan Item details in the Navigator. Click "Save" then "Close".

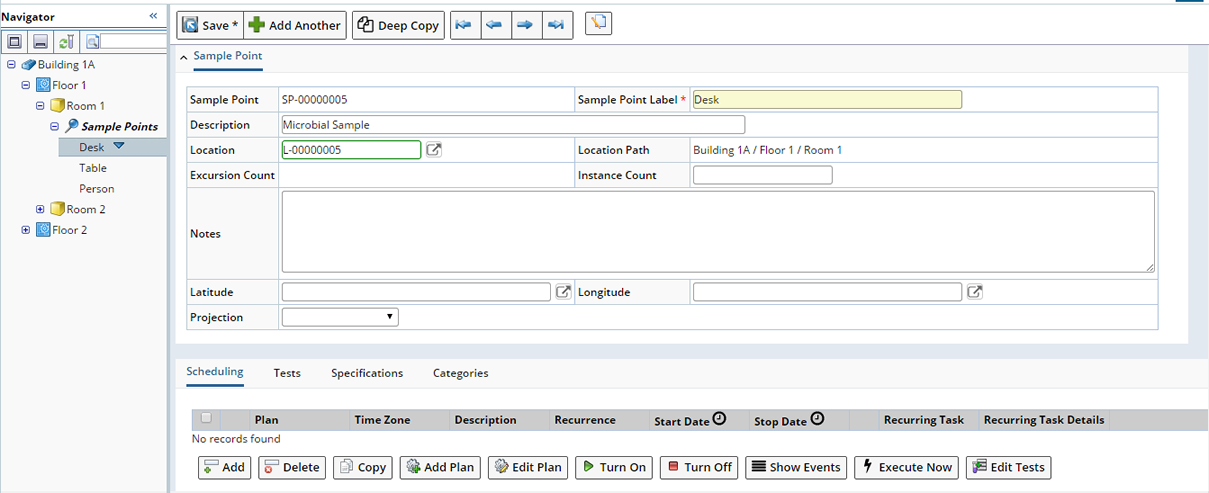
You can now begin to define Schedule Plan Items for the Desk. With the Desk selected in the Location Hierarchy click "Add". Use the Schedule Plan lookup to choose the Schedule Plan you just created, then define the specific sampling details for the Desk.
Once you are finished defining Schedule Plan Items click "Save". Upon Saving, the Scheduler considers the Location Hierarchy, places the Schedule Plan Item(s) within the Location Hierarchy and displays the Schedule Plan accordingly.

Continue adding Schedule Plan Items at each level (using the Navigator).
Schedule Plan Items are created using the Sample Point as the SDC and the specific Sample Point (the level you were in when you defined the Schedule Plan Item) as the Source.
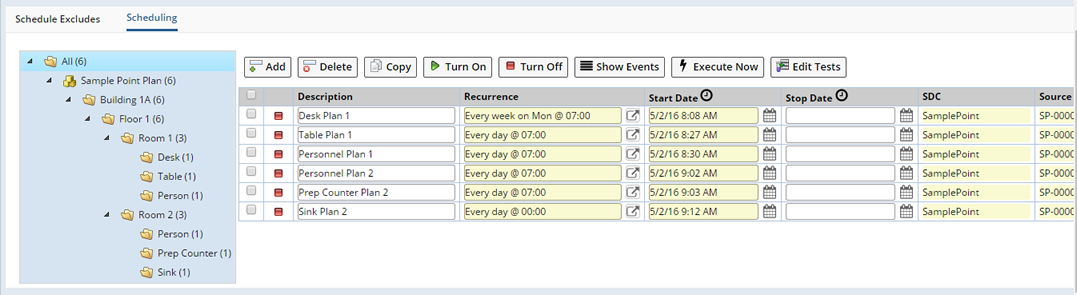
When finished, you could also view the entire Schedule Plan, defined at all levels, within the Scheduler (System Admin → Scheduling & Events → Schedule Plans).
You can also view Schedule Plan Items created for a specific Location or Sample Point in the Scheduling detail of the Location or Sample Point Maintenance page.
Schedule Groups |
|
|
Schedule Groups allow you to create and then execute an arbitrary set of Schedule Plan Items. For example, you might create a Schedule group if a certain type of item was found to be defective and you want to monitor all items of that type within your facility for 1 week. The Samples generated from this group of Schedule Plan Items are added to a Monitor Group (created by values defined in the Schedule Group) allowing you to manage all generated Samples together.
To define a Schedule Group navigate to LIMS → Monitor Samples → Add Schedule Group, the Add Schedule Group page opens.
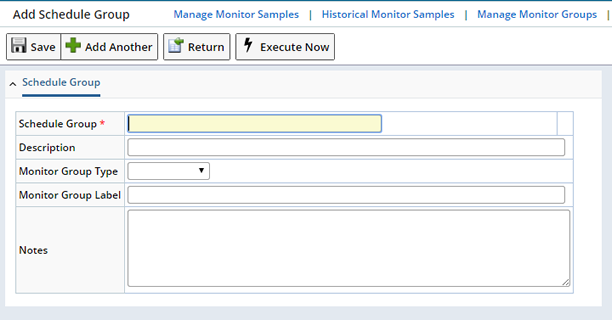
Define details about the Schedule Group you are creating.
| Field | Description |
| Schedule Group | Unique identifier for the Schedule Group. |
| Description | Describes the Schedule Group. |
| Monitor Group Type | Monitor Group Type whose rules (as defined in the Monitor Group Policy) will be applied to Samples generated for this Schedule Group. |
| Monitor Group Label | Label used to identify this Monitor Group. |
| Notes | Descriptive text. |
Upon "Saving" the detail tabs display.
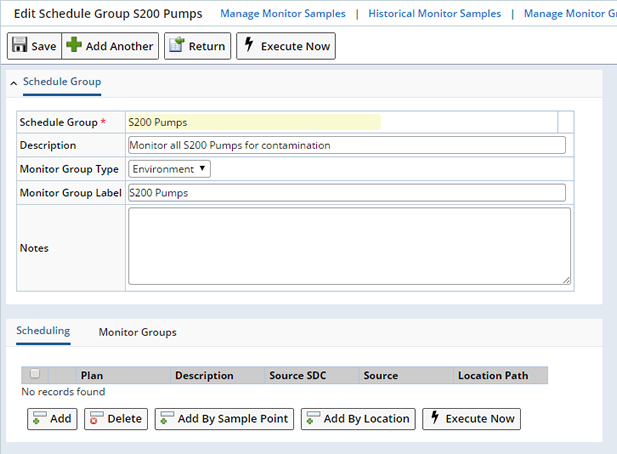
Scheduling |
This detail is used to add the Schedule Plan Items used to generate Samples for the Schedule Group.
This adds Schedule Plans for a certain Sample Point. Click "Add By Sample Point" to open the Sample Point list page. Select the Sample Point(s) you want to monitor and click "Select & Return".
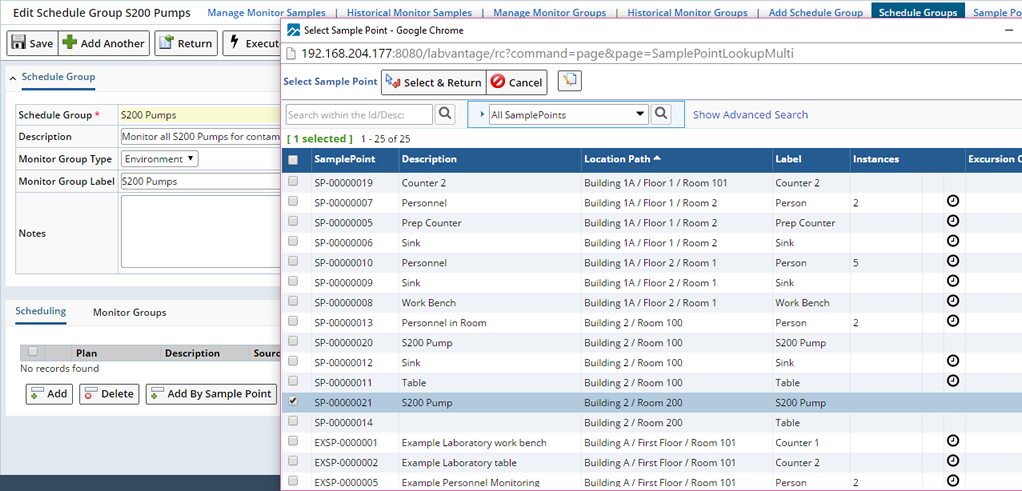
Schedule Plan Items are added with the Selected Sample Point as the Source.
This adds Schedule Plan Items for a certain Location. Click "Add By Location" to open the Location list page. Select the Location(s) you want to monitor. Schedule Plan Items are added with the Selected Location as the Source.
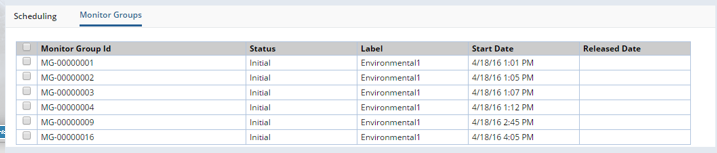
Monitor Groups |
Monitor Groups that have been created for this Schedule Group are shown in the Monitor Groups detail.
Execute a Schedule Group |
To execute a Schedule Group immediately. Select the Schedule Plan Items and click "Execute Now".
By default, the OOB system configures the "Execute Now" button of the Schedule Group to create a new Monitor Group on each execution of the Monitor group.
Two other configurable options are available:
| • | Configure the Schedule Group to follow the policy rules when placing the generated Monitor Samples into existing Monitor groups. |
| • | The generated Monitor Samples need not be contained in a Monitor Group at all. |
In these cases, the Monitor Groups will not be shown in the Monitor Group tab.
As Samples are generated they are included in a Monitor Group. The Monitor Group Label is taken from the Monitor Group Label field and the Monitor Group Type is used to determine the rules (as defined in the Monitor Group Policy) for Sample placement within this group and Release. See Monitor Groups for detailed information about creating and managing Monitor Groups.