|
Array Transfers |
Content |
||||||||||||||||||
|
Overview |
|
|
Array Transfer is the process of moving Array Item content from source Arrays to target Arrays or using ASL Grid Transfer, move Array Item content to or from an ASL Grid. Array Transfers may be homogeneous, in that you can transfer from one plate to another, or heterogeneous in that you can transfer from a plate to a gel. This is all defined by the ArrayType.
| NOTE: | This document discusses Transfers between Arrays. For information about transfers between Arrays and ASL Grids see ASL Grid Transfer. |
Array Transfers may be between like sized arrays, as when creating replica plates, or from different sized arrays as when you are condensing or splitting the arrays. Array Transfers are all dependent on both the source and target ArrayTypes.
There are two types of Transfers:
| • | Standard Transfers are based on common Array operations; e.g. Replicating, Condensing, or Splitting. These common operations algorithmically define the Array Item to Array Item mappings. |
| • | Custom Transfers let you create a custom Array Item to Array Item map between the source and the target Array(s). |
Whether you are executing standard transfers, custom transfers, homogeneous or heterogeneous transfers, the transfer method provides the option to generate Aliquot or Derivative child Arrays. An Aliquot Array is a transfer that produces a new array, whereby the new array contains aliquot Samples of all Samples loaded on the source array. A Derivative Array is a transfer that produces a new array, whereby the new array contains derivative Samples of all Samples loaded on the source array.
See Transfer Methods for details on establishing a Transfer Method.
Executing Transfers |
|
|
Standard Transfers are performed automatically based on common practices (algorithms) and require little interaction from the user. Transfer Methods are referenced during the Transfer to determine how the Source Array(s) are to be "placed" or mapped onto the Target(s).
Navigate to the Plates and Gels list page from either Lab Admin → Arrays → Arrays or LIMS → Tests → Plates and Gels tramstop.
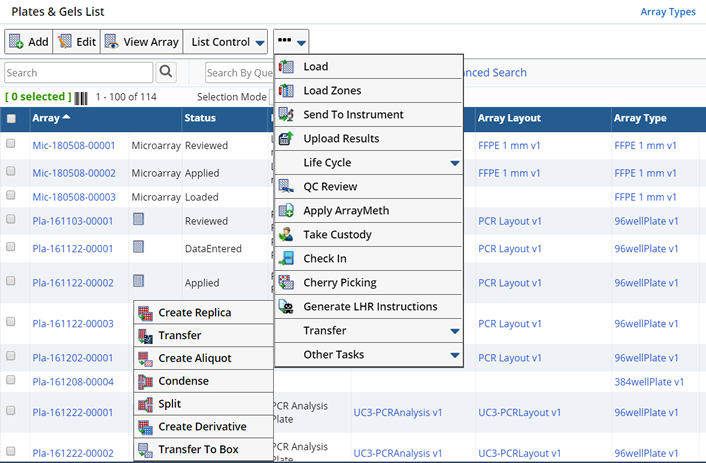
From the Plates and Gels list page, using the Transfer options, you can perform the following types of Transfers.
| Button | Description |
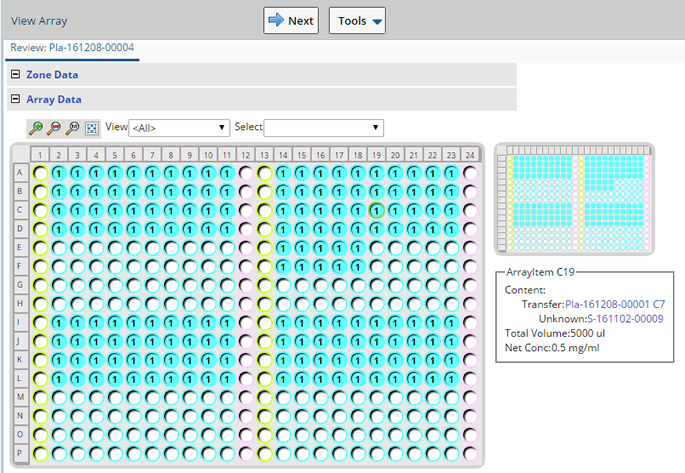
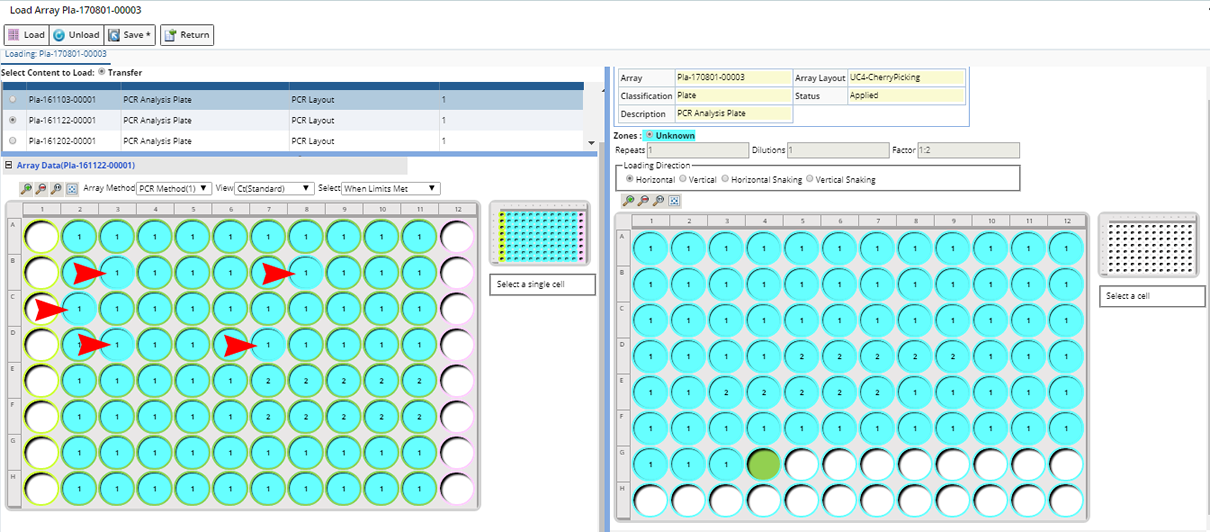
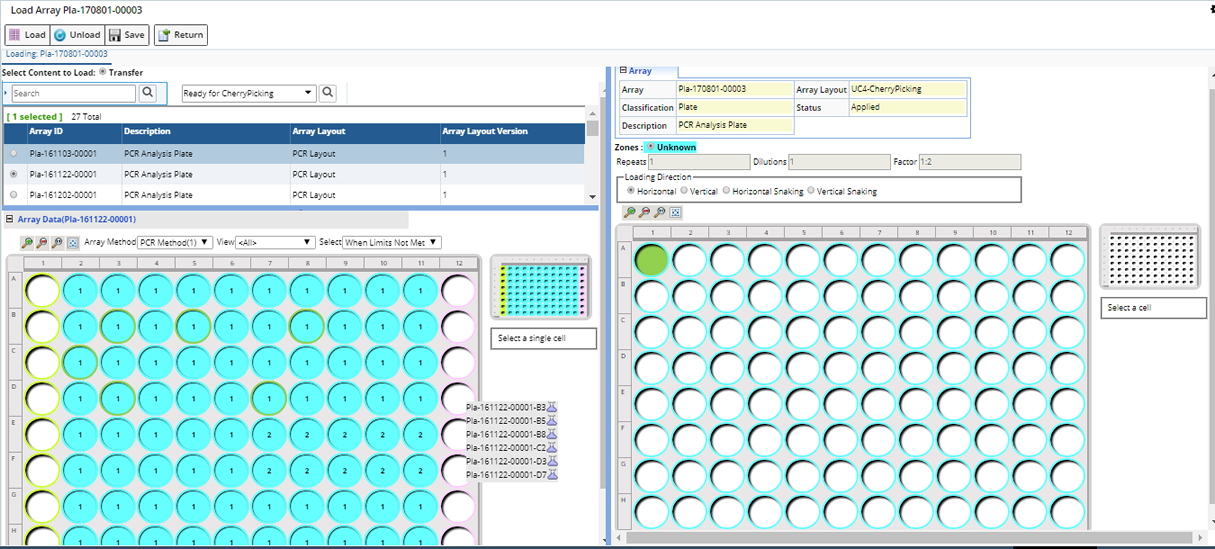
| Cherry Picking | Cherry Picking allows you to selectively decide which specific Array Items to transfer from the Source to the Target (such as Transfer only Array Items that fall within certain limits). See Cherry Picking for detailed information. |
| Generate LHR | Provides instructions for Liquid Handling Robots. See Generate LHR for more information. |
| Create Replica | Choose Create Replica when you need an exact copy of the Source Array. Zone definition and Content are copied based on the Transfer Rule in the Array Transfer Method. |
| Transfer | Create a custom Transfer. See Custom Transfers for more information. |
| Create Aliquot | Choose Create Aliquot when you need to create a new Array using a portion
of the content from an existing Array.
In addition to creating a new Array (an exact replica of the Source) Child Samples can optionally be created. A Child Sample will be created for each Sample used to load the Source Array. In other words, if 10 Samples were used to fill a 96 well plate, 10 Child Samples will be created for the new Array. The Child Sample Type will be the same as the Parent Sample. In the Method Details tab of the Transfer Method, the Create Child Samples field must be checked. |
|
Condense |
Choose Condense to condense multiple smaller Arrays into one larger Array. The Transfer Map in the Transfer Method determines how the Source Arrays are "placed" on the Target Array. |
| Split | Choose Splitting when you need to split one larger Array into multiple smaller Arrays (such as splitting a 384 well plate into four 96 well plates). The Transfer Map on the Transfer Method determines how the Source Array is split and "placed" into the Target Arrays (direction and start position). |
| Create Derivative | Creating a Derivative is the same as Creating an Aliquot, except during the Transfer you have the option to define a different Child Sample Type for the newly created Samples. |
| Transfer To Box | Transfer an Array to a Box (ASL Grid). See ASL Grid Transfer for more information. |
Execute Transfers |
From the Plates and Gels list page select the Source Array(s), then click the type of Transfer you want to perform. The Transfer dialog opens. Depending on the type of transfer being performed some or all of the following fields display.

Enter details concerning the Transfer:
| Field | Description |
| Array Transfer Method | Choose the Transfer Method to use for this Transfer. Methods with a Transfer Operation matching the type of transfer being performed are displayed. |
| Target Volume
Target Volume Units |
Volume to transfer to the Target.
An error occurs when the Target Volume entered is less than the Source Volume.
Target Volume unit. |
| Target Concentration | Concentration of the content being transferred. |
| Target Concentration Units | Units of the Concentration. |
| Target Array | Used when Condensing. Choose the Target Array onto which you want to Transfer the Source Array. Use the lookup to find the Target. If blank, a new Array is created. |
| Source Index | Used when Condensing. Define how the
next Source will be loaded. The Source Index indicates that the selected arrays are the specific ordinal number expected by the Array Method.
For example, when condensing 8 1x12 single line arrays, into one 8x12 96 well plate, you may partially create this target plate by selecting less than 8 source lines. Then later, in subsequent condensing, you would choose more source lines, here we specify that the selected source lines are the nth line. If blank, the Source will overlay and continue according to the Transfer Map. |
| Sample Type ID | Used during Create Aliquot or Create Derivative. Choose a Sample Type for the Child Samples. You can choose a type different from the Parent Sample Type. If left blank the Parent Sample Type is used. |
Click OK. Either a new Array is created or the Source is added to an existing Array. Source Array content is loaded according to the Transfer Rule defined in the Array Transfer Method. If the Transfer Rule did not include Content (Zone definition only), you will need to Apply an Array Method before loading the new Array.
When Condensing or Splitting, the number of Target Arrays to create is calculated using information defined on the Method Details tab of the Transfer Method. The Array Types defined for the Source and Target Arrays combined with the Transfer Operation (Splitting, Condensing) determine the number of Target Arrays to create. For example, if the Source Array Type is a 384 well plate and the Target is a 96 well plate, LABVANTAGE assumes there will be 1 Source Array and 4 Target Arrays. Define different Methods for each possible scenario.
If Aliquots or Derivatives are created, a new Array is created and if enabled on the Array Method, Child Samples are added. Note on the Plates and Gels list page (in the Sample column), the number of Samples associated with the Array is listed. Click the number to view the Samples.
Custom Transfers |


