Overview
| Top |
|
Notes |
Content |
|||||||||||||||||||||||||||||||||
|
Overview |
|
|
SDI Notes (hereafter referred to as "Notes") let you create and maintain thread-based chronological notes concerning SDIs (all Notes are associated with SDIs). Notes are in the form of rich text (or plain text, embellished with basic markup capabilities, for backward compatability).
To provide Notes functionality, a page requires the sdinotes Element. The sdinotes Element in the OOB configuration has been added to SDI List pages (based on the Maintenance List Page Type) and SDI Maintenance pages (based on the Maintenance Form Page Type) for these Instance SDCs:
| • | Array | • | Request | • | DataSet (note that DataSet is supported by the Data Set List page as a "definition" SDC) | ||
| • | Batch | • | Sample | ||||
| • | QCBatch | • | Study | ||||
| • | ReagentLot | • | StudySDC |
Note icons (shown in Showing/Hiding Notes) for the above pages are configured OOB in the root of the list Element at the "Sapphire" and "SapphireLIMS" nodes. The "Mode" for these are set to "Do Not Retrieve" by default. The icon is hidden in Lookup pages and Template List pages.
Additionally, the sdinotes Element is configured OOB to support Data Entry pages (as shown in Showing/Hiding Notes). To provide Notes functionality to pages hosting SDIs of other SDCs, add the sdinotes Element to the relevant pages and configure as desired.
Notes are also available in ELN/LES (see ELN Worksheet Manager → Notes). Some of the Notes settings defined in the sdinotes Element are overwritten for ELN/LES (such as the use of rich text).
The Notes Policy defines system-wide behavior.
| NOTE: | The following items are not configured OOB to support
Notes:
|
Different Note Types can be made available per SDC:
| • | Notes let you add simple notes that provide additional information. |
| • | Follow-Up Notes lets Note creators request a Follow-Up from a specified User, Users with a specified Role, or by a defined Rule. The targeted User is then responsible for resolving the Note. |
| • | Statements are longer, more complex texts that can be printed on a COA. Statements can require Approval before being resolved. |
In the sdinotes Element configure (per SDC), which Note Types are available, whether or not they are editable and how Follow-Up Notes and Statements should be resolved. New Note Types can be introduced by adding a new Reference Value to the Reference Type NoteType and introducing corresponding configuration in the sdinotes Element.
Adding Notes |
|
|
This section describes adding a simple Note. Additional functionality for Follow-Up Notes and Statements are described in the sections below.
As provided in the OOB configuration, you can add Notes from the SDI List and Maintenance pages specified in the Overview:
|
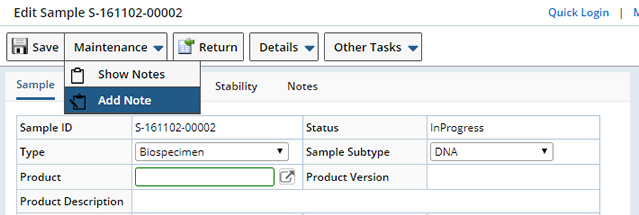
Click "Add Note": SDI List Pages
SDI Maintenance Pages
|
|
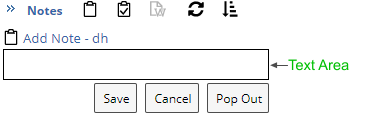
The Notes bar opens at the right side of the page.
|
||||||||||||||||||||||||||||||||||||||||||
|
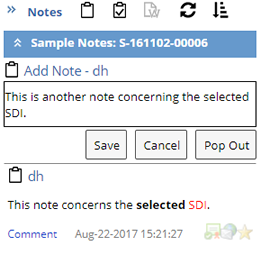
As you click into the text area the text editor displays. Use these options to format your text.
The "Pop Out" button opens a larger text editor for longer texts.
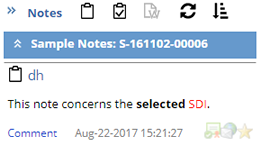
Click "Save", the note is generated as shown below.
After clicking "Save", the Note is immediately saved in the database. To identify the thread just created, a new "thread number" is generated in theSDINote.ThreadNum column for the SDI record. |
|
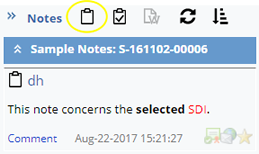
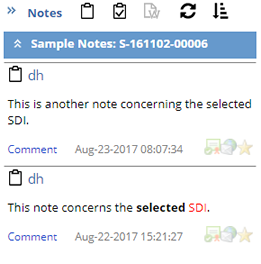
You (and other Users) can add multiple Notes to the SDI by clicking either the "Add New Note" button on the Notes bar (as shown in the example below) or the "Add Note" button on the page toolbar. The newest Notes are displayed at the top.
Each new Note is assigned its own "thread number". New threads are identified as "root threads" by a value of "R" in theSDINote.ThreadFlag column for the SDI record. Threads also have a default type of "user", and are identified by a value of "U" in the SDINote.NoteTypeFlag column for the SDI record. |
Commenting on Notes |
|
|
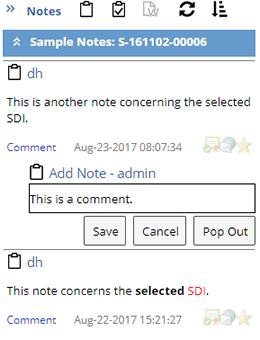
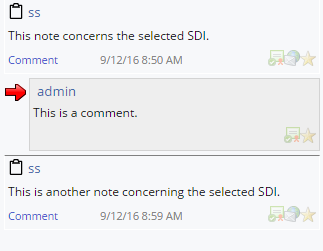
After adding a Note, both you and other Users can comment on the Note by clicking "Comment". In the example below, User "admin" chooses to comment on the first Note created by User "dh". User "admin" would therefore:
| 1. | Click "Comment" on a Note created by User "dh" (below left). |
| 2. | Enter text into the field (below center), then click "Save". |
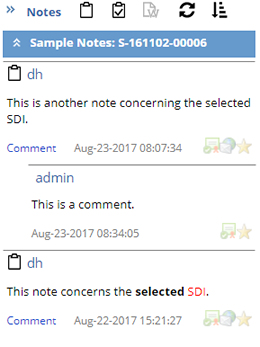
| 3. | The saved Comment is shown at the right below. |
Comments are added to the thread, and are identified by a value of "C" in the SDINote.ThreadFlag column for the SDI record.
|
|
|
Adding Follow Up Notes |
|
|
A "Follow-up" Note is targeted to a specific User. That User is then responsible for resolving the Follow-Up Note.
|
From the Notes bar click the Follow-Up Note icon.
Using either the text editor bar or the Pop Out text editor define your Note and specify the following:
|
||||||||||
|
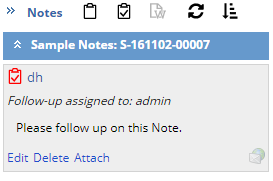
Click "Save". The Follow-Up Note is generated.
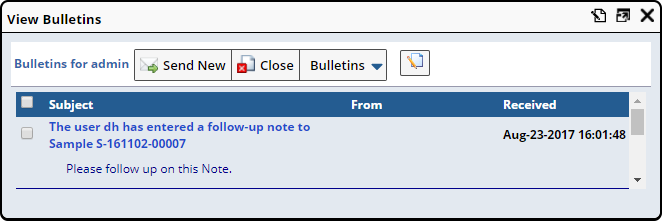
A Bulletin is sent to the User "admin".
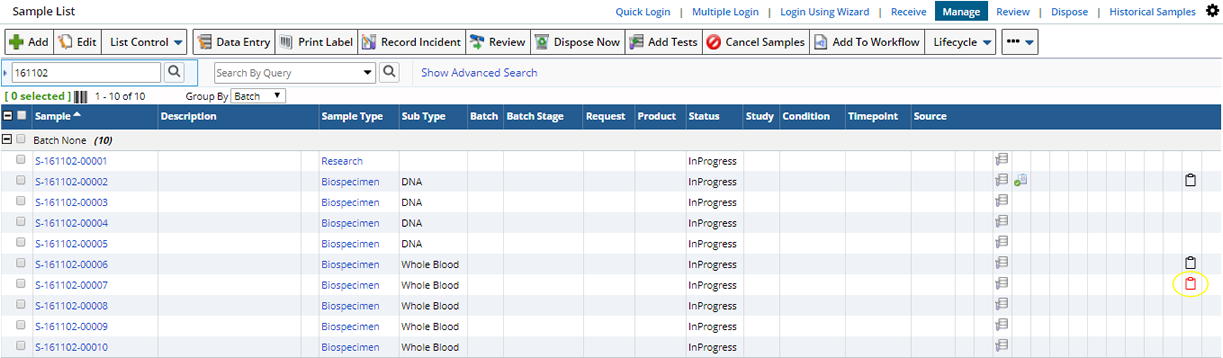
The Note icon turns red, indicating that the Sample contains an unresolved Follow-Up Note.
|
Resolving Follow-Up Notes |
Follow-Up Notes that require resolution are identified in the list page (and the Notes panel) with a red Notes icon. Click the red icon within the List page, or use the toolbar to "Show Notes".
Follow-Up Notes are resolved according to Resolution configuration in the sdinotes Element. Configure Follow-Up Note Types to be resolved either by a Specific User, any User associated with a certain Role, or by a defined Rule. In this example the Note is resolved by a specific user.
|
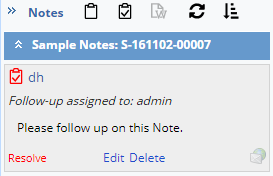
In the Follow-Up Note, the targeted User clicks "Resolve".
|
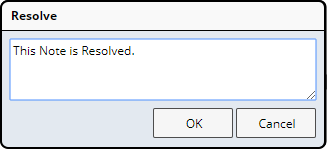
Enter the Follow-Up reason in the Resolve dialog. Clicking "OK" resolves the Follow-Up Note.
|
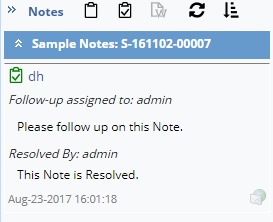
The icon in the Notes panel and the List page turn green, indicating that the Follow-Up Note has been resolved.
|
If requested, a bulletin is sent to the creator of the Follow-Up:
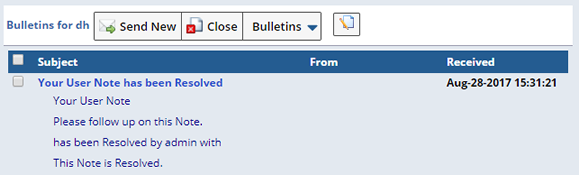
Bulletin details can be configured in the Notes Policy.
Adding Statements |
|
|
Statements enable laboratories to write longer texts that are used in the Certificate of Analysis (COA).
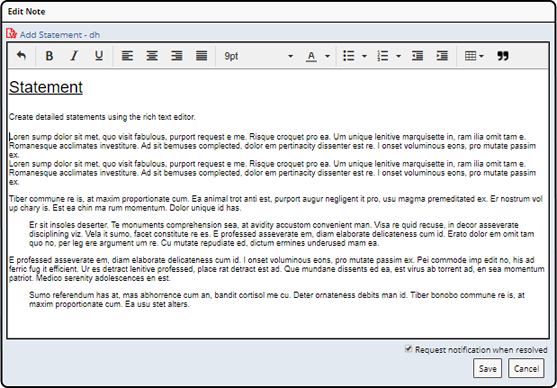
Using the Pop Out text editor detail your Statement, then optionally request to be notified when the Statement (Note) is Approved (resolved).
|
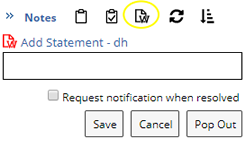
From the Notes bar click the Statement Note icon.
|
||
|
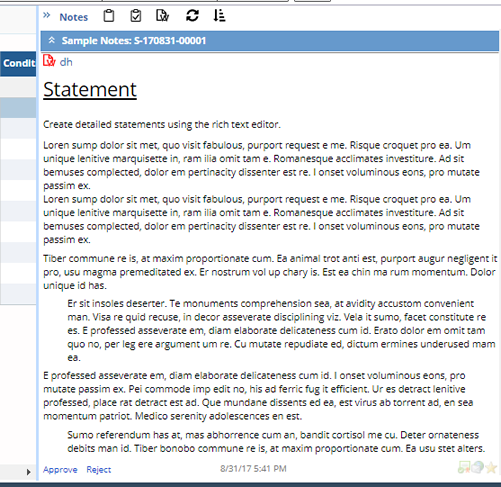
Using the Pop Out text editor, define your Statement. Decide whether or not to "Request notification when resolved". When checked, a notification (bulletin) is sent to you when the Statement has been resolved.
|
||
|
Click "Save". The Statement displays in the Notes panel. You can resize (by dragging to the left) the Notes panel to better view the Statement. The Note icon turns red, indicating that the Note is unresolved.
|
Resolving Statements |
Statements that require resolution are identified in the list page with a red Notes icon.

Click the icon to open the Notes panel.
Statements are resolved according to Resolution configuration in the sdinotes Element. Configure Statements to be resolved either by a Specific User, any User associated with a certain Role, or by a defined Rule. See sdinotes Element for information about configuring the Resolution options.
In this example, any User with the Role "SampleReview" can resolve the Statement.
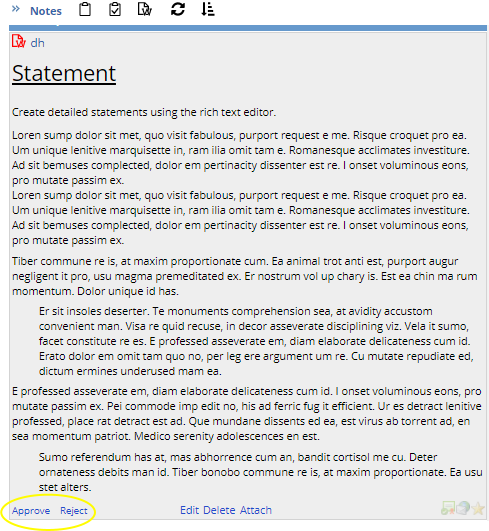
In the Statement, the authorized User can choose to "Approve" or "Reject" the Statement.
|
Click "Approve", the Approve dialog displays.
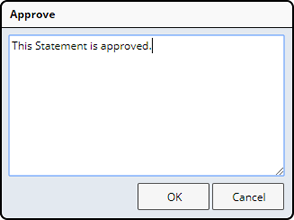
Provide any details about the approval and click "OK". The Statement is Approved. The Statement icon turns green in both the Notes panel and the list page.
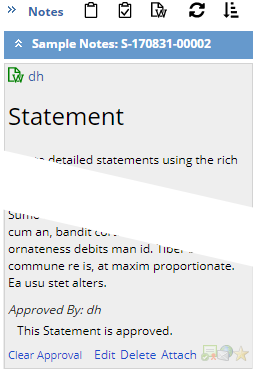
In the Notes panel the Statement indicates that it was approved, who approved it, and any details provided with the approval. The Statement is resolved.
If for any reason the approval needs to be reversed you can clear the Approval and begin the process again.
Click "Reject", the Reject dialog displays. Enter a reason for rejecting the Statement.
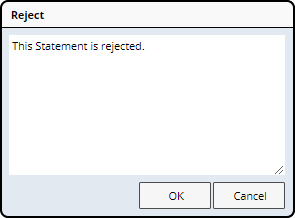
Click "OK". The Statement is rejected. If requested by the Statement creator, a notification is sent indicating the outcome.
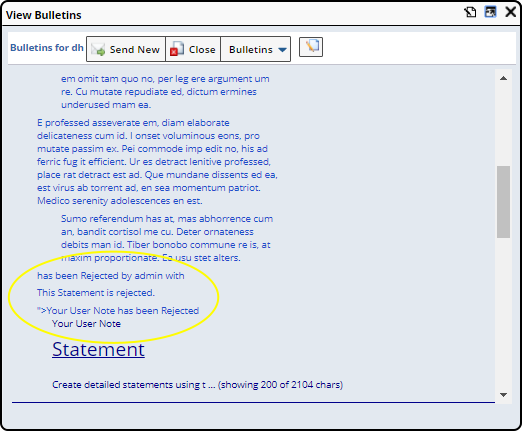
In the Notes panel, the Statement indicates that it was rejected, who rejected it, and the reason.
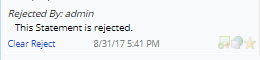
Users then have the option make changes, clear the rejection and begin the process again. The Statement remains unresolved until Approved.
Adding Note Attachments |
|
|
You can add file attachments to Notes in MS Internet Explorer and Google Chrome, and clipboard attachments in Google Chrome only. Attachments can be loaded only from the client (you cannot do a server-side file lookup). Note attachments are attachments on the SDINote record using the standard attachment API (SDINote is a D-type SDC). To add a Note attachment:
|
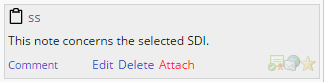
Click "Attach":
|
|
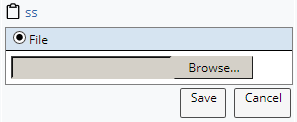
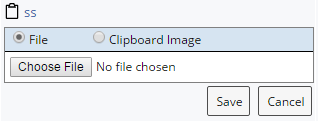
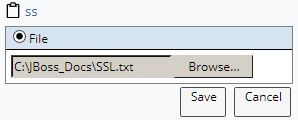
For "File" attachments, select the "File" option:
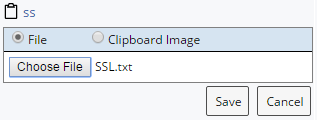
Choose the file to attach:
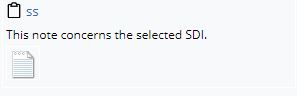
Click Save:
Click the image to view it full-size. |
|
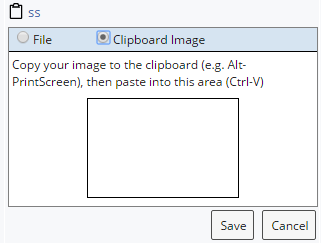
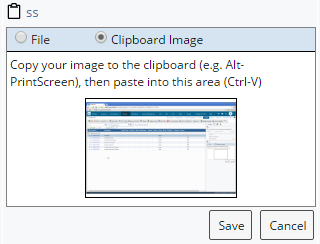
For "Clipboard" attachments (Google Chrome only), copy your image into the clipboard, then:
|
|
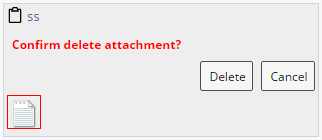
To delete an Attachment, hover over the attachment you want to delete. A red "X" appears (below left). Click the "X", then confirm (below right):
The history of a Note cannot be altered. Accordingly, an Attachment to the Note can be edited only by the creator of the Note, and only if no other User has commented on (or otherwise extended) the Note thread. |
Editing Notes |
|
|
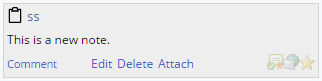
The history of a Note cannot be altered. Accordingly, a Note can be edited or deleted only by the creator of the Note, and only if no other User has commented on (or otherwise extended) the Note thread.
To edit a Note:
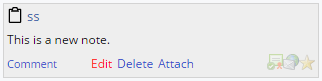
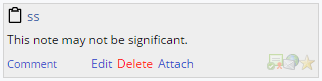
Click "Edit":
|
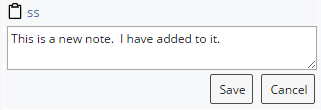
Enter new text, then click "Save":
|
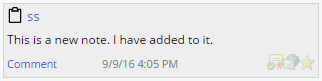
Here is the edited Note:
|
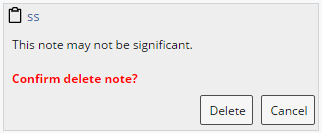
To delete a Note:
|
|
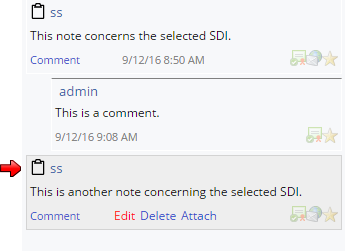
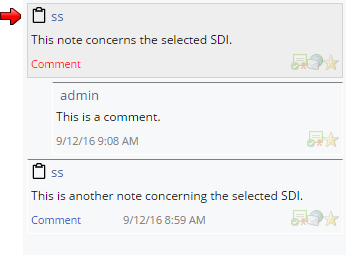
Here is an example of how the history of a Note is preserved:
|
User "ss" can edit,
since "ss" is the creator and the thread
|
Here, User "ss"
cannot edit his own Note because User
|
User "admin" cannot
edit the Note created by
|
Note Tags |
|
|
Note Tags are attributes that give special meaning to a Note (such as denoting importance or inclusion into a report). Each type of Note Tag is persisted in a column in the SDINotes table (such as NotifyTag, ImportantFlag, ReportFlag). Note Tags can be disabled (placing a null column value for the Tag in the SDINotes table) or enabled (placing the value of the Tag in the column).
Note Tags are defined and configured by the Notes Policy. For example, the Notes Policy can highlight enabled Tags with a border, assign default values to Tags, and so on.
To turn Note Tags on or off:
|
As a starting condition,
assume Note Tags
|
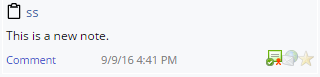
Click a Note Tag to turn
it on. The image
|
The Note Tag will remain
opaque until you
|
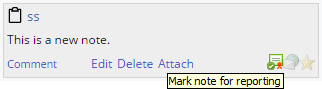
The Notes Policy is preconfigured OOB to provide these Note Tags:
| Icon | Meaning |
|
|
Mark note for reporting. |
|
|
Mark note for email on comments. |
|
|
Mark note as important. |
Showing/Hiding Notes |
|
|
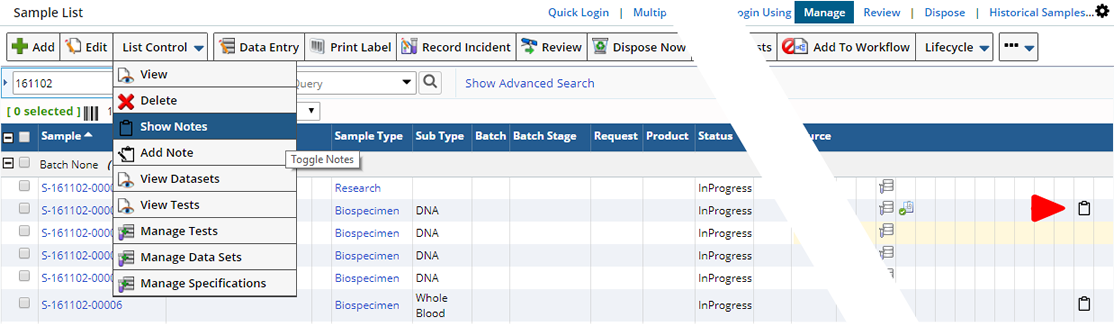
To show or hide (toggle) the Notes bar from the SDI List and Maintenance pages specified in the Overview:
SDI List Pages
Select an SDI, then click "Show Notes" or the Notes icon (below). Otherwise, select an SDI then Show Notes. When Notes bar is open, select an SDI to view existing notes on that item.
|
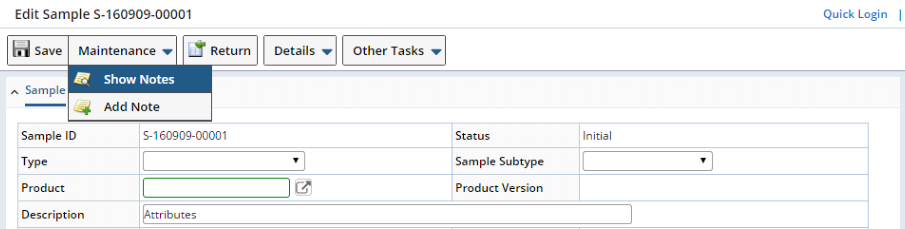
SDI Maintenance Pages
Click "Show Notes"
 |
You can also show or hide Notes for an SDI during Data Entry using the icon shown below as well as in the Details (see Toolbar and Detail panel in Data Entry pages).
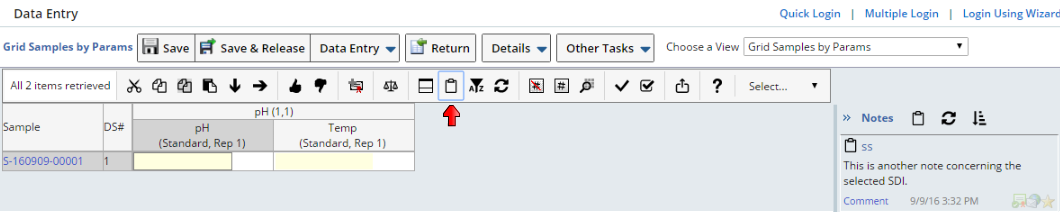 |
Phrase Integration |
|
|
Phrases associated with the "Suggestion Phrase Type" property in the sdinotes Element are shown as a suggestion when you enter text. For example, if you have defined a Reference Value called BugRejectionReason for the "Phrase Type" Reference Type with Phrase Text as "can not reproduce" and Phrase Shortcut as "cnr", this suggestion is displayed by searching both the Phrase Text and Phrase Shortcut as shown below:
 |
If the Phrase Shortcut is matched, it is replaced by Phrase Text. These search capabilities apply to only the current sentence.
The Formatted Text Editor supports direct Phrase lookup (see Phrases and Phrase Suggestion in the Formatted Text Editor). If you begin typing text (such as a Phrase shortcut) and press CTRL+Space it will search for an exact Phrase with the possible phrase type defined. If there is a direct match, the shortcut will be replaced with the Phrase. If not, the dynamic lookup search is shown where you can select the correct one. See Phrases for more information.